
The Birth of a Planet
Now that the type is complete, we can start working on the planet.
Step 1: Select a texture from a rock, or experiment with different textures to see which works best for the planet.
Step 2: Create a new document, use the elliptical marquee tool, hold the SHIFT key and drag your mouse in order to make a perfect circle. Now, fill the circle with a solid color LAYER>NEW FILL LAYER>SOLID COLOR.
Step 3: Open the rock texture document in Photoshop and drag the image onto your circle document. Group the rock texture as a clipping group to the circle by clicking in between layers while holding down OPTION.

Step 4: Right click on the circle to bring up its selection. With your texture layer selected, apply the spherize filter (FILTER>DISTORT>SPHERIZE) on the rock texture. Next, add a curves adjustment layer (LAYER>NEW ADJUSTMENT LAYER>CURVES) above the texture layer to adjust contrast to surface texture as needed.


Step 5: Right click on the circle layer to bring up its selection. Fill a new layer with black and deselect the layer. Apply a gaussian blur filter to the layer to get a soft edge for the planet’s shadow. Clip the image to the circle layer to get rid of the excess areas of the shadow. Now change the layer mode from normal to multiply and lower the opacity to 85%. Feather the edge to make the transition of the shadow believable.


Step 6: Give the planet a little bit of color by adding a gradient map adjustment layer (LAYER>NEW ADJUSTMENT LAYER>GRADIENT MAP) above the rest of the other layers. Select a color for your planet and change the layer mode from normal to hue.

Step 7: We will now add bodies of water to make the planet look more believable. On a new layer, select a dark blue color and use a hard-edged brush to brush in some areas to represent the ocean. Reference other images of planets for help as needed.

Step 8: In order to create a sense of depth to the water, apply an inner glow to the blue ocean layer.

Step 9: Create a bursting effect from the planet. First, create a new layer and use a dark color to draw in some cracks in the planet. Then, switch the layer mode to overlay.
Step 10: After the cracks are drawn in, right click on the layer to bring up its selection. Create a new layer above the cracks layer and apply a lighter color to airbrush in. Now, deselect the the layer and apply a gaussian blur to the glow.
Step 11: Create some rays that are bursting out of the planet. This is a fairly simple trick that can be useful in creating some really effective rays. Start by creating a new document (8.5 x 11"). Press "D" on your keyboard to bring your color palettes to default black and white. Use the gradient tool and drag from top to bottom on your document to get the following image.
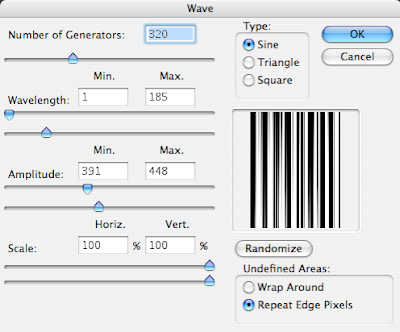
Step 12: Go to FILTERS>DISTORT>WAVE. Try to get a variation of thick and thin lines by experimenting with the different sliders. Click “OK”.
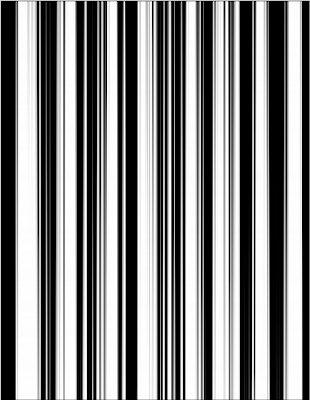
Step 13: Go back to FILTER>DISTORT>POLAR COORDINATES. Make sure "rectangular to polar" is selected and click “OK”. Invert (apple + I) the image and drag it onto the planet document.
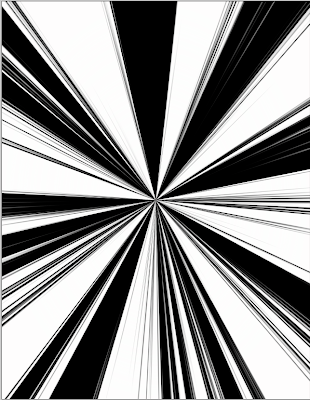
Step 14: Now that the rays are done change the layer mode to color dodge and apply a gaussian blur to the rays layer.
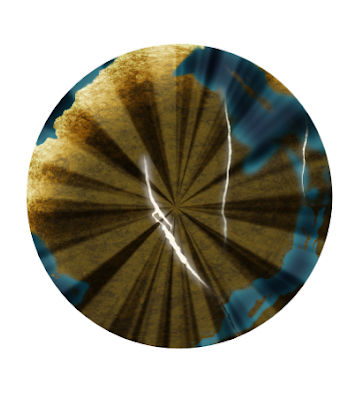
Step 15: Apply a layer mask to the rays layers and mask out the areas of the ray that wouldn't shine through the planet.
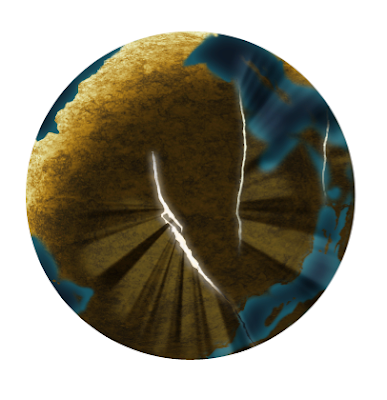
Step 16: Now, the rays need a little variation. Add a new layer and use your gradient tool (set to radial), use the foreground to transparent setting and start adding a little bit of glows in different areas of the cracks.
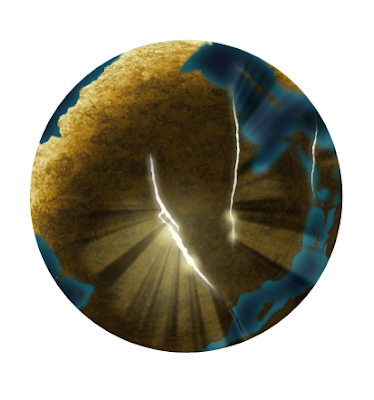
Step 17: Add some night lights to the planet. Search for "earth lights at night" for reference. After you find a nice image for reference. Bring the image to the planet document and set the layer mode to color dodge.
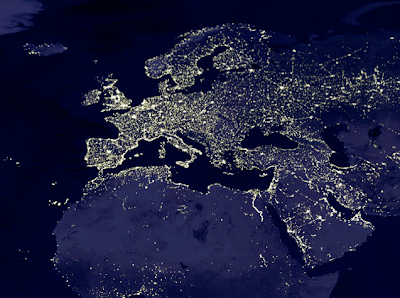
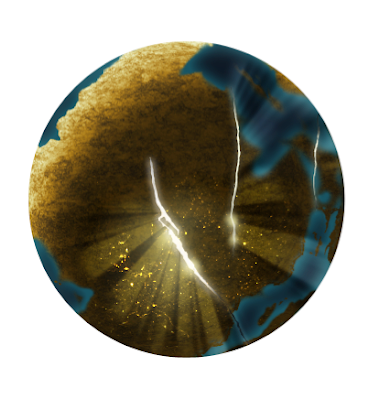
Step 18: Mask out the areas of the image to fit onto the land areas of the planet.
Below are the links to PART ONE and THREE of the TUTORIAL
A Global Menagination - PART ONE
A Global Menaagination - PART THREE


0 comments:
Post a Comment